Note that the products discussed on our site are independently selected by our editors. Your purchases through our recommendations may earn us a commission at no extra cost to you.
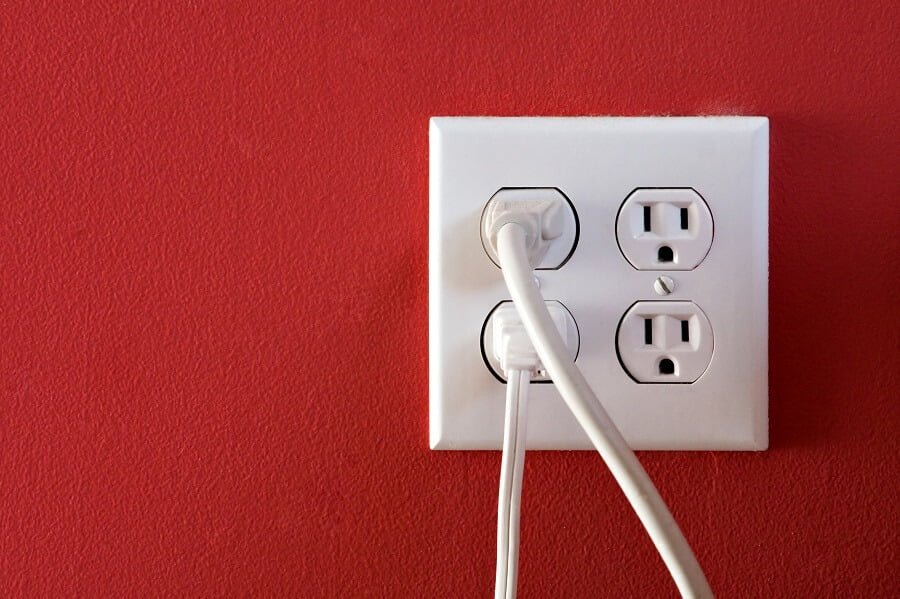
Electrical wall boxes or outlets are great for plugging in our devices, but no one considers them in the scheme of having their design to be a part of air loss in buildings.
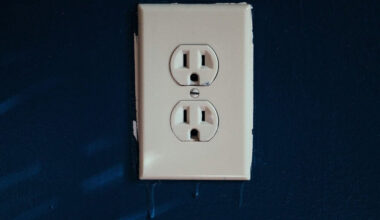
Electrical outlets are made by cutting a hole in the interior of a wall and installing electrical wire intrusions that help operate lights, devices, utilities, and more. Interestingly enough, they are also a source of cold and warm air entering and exiting the home through their gaps and holes.
The Natural Resources Defense Council has forecasted that by the year 2020, monthly electricity bills will be reduced by 7%. And that, I mean the decrease in electricity bills, can be achieved in many ways. One of the easiest is by insulating your electrical outlets properly. Because as we have already mentioned earlier, electrical outlets often allow air to pass back and forth, thus allowing warm air to go outside in the winter, and hotter air from outside to come inside in the summer.
Both instances create an unhealthy environment in addition to drastically causing increased energy bills.
Energy agencies like The U.S. Department of Energy reports that we can reduce our heating and cooling needs by 30% if we smartly insulate our homes.
Even though insulation is usually used in the initial installation of outlets or boxes, over time, it wears down or the initial insulation is limited. That is why it is advisable for you as a home owner that you take extra time to check your outlets, and install proper insulation as necessary, making sure that there’s no way for air to pass back and forth.
Proper insulation can be done in many ways, often in a matter of minutes. We will discuss a few below.
3 ways to seal electrical outlets
Insulating an outlet is quite easy, and can be a DIY project if you are comfortable around electricity. Otherwise, contact your local electrical contractor. Below are a few insulation options for electrical boxes or outlets.
1. Foam and pre-cut gaskets
The Environmental Protection Agency strongly suggests using fire retardant insulation foam or pre-cut insulation gaskets that can fit around the outlets. Foam gaskets are designed to insulate traditional two-outlet sockets and single toggle light switches. Gaskets can be used for insulating cable outlets and telephone jack outlets at very affordable process.
2. Caulking
The Natural Resources Defense Council suggests sealing draft-prone electrical outlets with putty or a caulking solution that has a compatibility rating for electrical works. Just a small electrical caulking tip – caulk the perimeter of the outlet boxes to the surrounding drywall. Just this small step also helps to better eliminate drafts.
3. Outlet plugs
The simplest outlet solution to plug the drafts coming into the house is to use a child-proof safety plug. Child-proof outlet plugs are sealants that hug the outlet snugly, so that not only is a child unable to remove it, air leaks are also impeded.
Let’s talk about the innovative foam insulation gaskets. They can be purchased in any houseware store in multiple packs and mainly under the name of “socket sealers.” Foam insulation gaskets are pre-cut electrical coded foam cutouts for various sized electrical wall boxes.
Quality rated foam insulating gaskets create an air-tight seal between the wall and the faceplate that matches the appearance of the electrical socket.
How to Insulate traditional electrical boxes
Traditional wall boxes are available in varied sizes and shapes and is one of the majority styles of outlets and wall switches in a home’s wiring system where 1 or 2 devices are plugged into it. Insulating this style calls for:
- TURN OFF THE POWER TO THE OUTLET – please! We don’t want any electrical shocks!
- Take your screwdriver and remove the outlet cover faceplate that holds the outlet or light switch in place.
- Press out the appropriately sized insulation gasket and place it over the exposed faceplate. Line up the socket holes. If you need to cut the foam gasket to fit the outlet so that the sockets are exposed, just simply trim it.
- Place the screws back into the faceplate.
- Voila! you’ve accomplished a DIY project and helped lower your power bill.
How to insulate wall-mounted junction boxes
Square boxes or junction outlets holds wire intrusions for single or double electrical devices. Some of the electrical boxes can also take on an octagonal shape which is really a square box with angled corners.
As beneficial and durable as the square junction boxes are, they too allow air to enter homes and other buildings. You can insulate these wall-mounted square boxes as follows:
- Turn off the circuit breaker power to the box you are working on
- Remove the cover faceplate
- Generally, there is a ¼ gap between the box and the drywall which can be filled with acrylic latex caulking
- If the gap is larger than ¼ inches, then a foam sealant is a better insulation product
- After the caulk or foam is dry, trim off the excess
- Add a pre-cut foam gasket and replace the cover plate
How to insulate ceiling boxes
Electrical ceiling boxes are round in shape and are used for both lightweight and heavyweight fixtures. Based on its name, ceiling boxes are designed for installing ceiling fans or alarms like smoke detectors and other styled light fixtures. Ceiling boxes are wall-mounted outlets.
The gaps around the ceiling boxes should be insulated with fire-resistant caulk or foam. Do not use any type of spray foam products because these products burn quickly. Fire-resistant caulk or foam when heated will expand to stop any airflow.
A ceiling box insulation process is as follows:
- Turn off the power to the ceiling boxes
- Remove the light fixture faceplate
- Place a disposable cloth underneath the ceiling box mounting to catch the excess foam
- Push a small amount of foam into the gap around the electrical box and the ceiling wall to fill in gap spaces
- You must allow the foam to set
- After drying trim away excess foam
- Place the faceplate back in place
These are a few basic tips on how to insulate electrical outlets by using intumescent insulation for residential electrical outlets or boxes. These simple insulation outlet tasks do not call for costly supplies because it only involves just 2 to 3 tools and your DIY handiwork.
In a majority of the cases, you do not have to spend a lot of time or money on expensive home insulation supplies nor do you need to hire professionals to insulate outlets and switches.
Insulating various types of outlets or switch plates is the easiest task to help eliminate heat loss without insulating your whole house. Completing the above insulation tips will reveal the difference that insulating your outlets makes.
Final words
The Department of Energy has identified over a dozen areas within a home that can be responsible for drafty air leaks. A few of our home’s leaky culprits include the attic, exterior walls, windows, and doors. Yes, mounted wall outlets are a part of the leaking problem of loss heating and cooling air.
Sealing openings helps to reduce drafty spots and to reduce air leakage as much as possible. Caulking, foam gaskets, and foam sealants are the best tools for blocking drafty air.
Recommended read:
15 Proven Energy Efficient Ways to Heat Your Home
Best Electric Garage Heaters: Find The Best For Your Garage This Winter
Some manufacturers of electrical devices do not condone the use of gaskets. They flat out state to not use them at all, or at least with their dimmers and similar devices. The heat produced in many such applications poses a risk when using foam gaskets, even if they are labeled as fire-retarding. I just personally confirmed this issue with Lutron. Best looking for ways to seal the box itself, e.g. with fire barrier caulk or similar, in addition to sealing the perimeter of the box. Check with the manufacturer of your wall devices.