Note that the products discussed on our site are independently selected by our editors. Your purchases through our recommendations may earn us a commission at no extra cost to you.
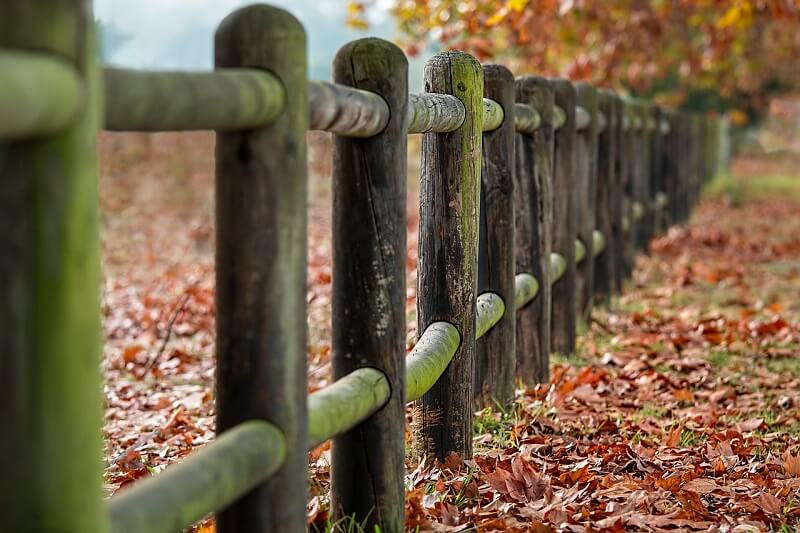
Environmental conditions such as snow, wind, rain, and rot expose wooden fences to significant damage. Decay mainly affects untreated posts buried in the ground. As a property owner, you must routinely repair your wooden fences. But doing so can sometimes be daunting. So here we present a comprehensive guide on how to repair a wooden fence, it’s rails, posts, screens, and gates.
But before that, if you would rather want to know how to care for your wooden fence and protect it from damages in the first place, then we have a separate article on that here: 12 Outstanding Ways To Protect Your Wooden Fence From Damage. Check that one out too!
If you are getting started with your fence repairs, you will need some basic supplies and tools to help you repair and maintain your fence. Mostly, the type of fence dictates the type of tool to use. Below are some of the commonly used tools.
Necessary Tools
1. Saber Saw
You can use a Saber saw for quick cutting and shaping wood. It is a versatile and handy tool. It uses a reciprocating motor to move the saw blades up and down and across the object to be cut. While using this tool, ensure you wear eye protection.
2. Coping Saw
If you want to make a curvy cut on thinner materials, then this should be your best tool. A coping saw uses thin metal blades to make turning cuts on the wood. In order to use this tool, firmly hold the material with clamps or in a vise. Place the saw blade on the line to be cut and push the saw with some short strokes.
3. Primers
These are inexpensive undercoatings that smooth out the uneven surfaces. Additionally, they provide a barrier between the porous surface and the finish coats.
4. A hammer
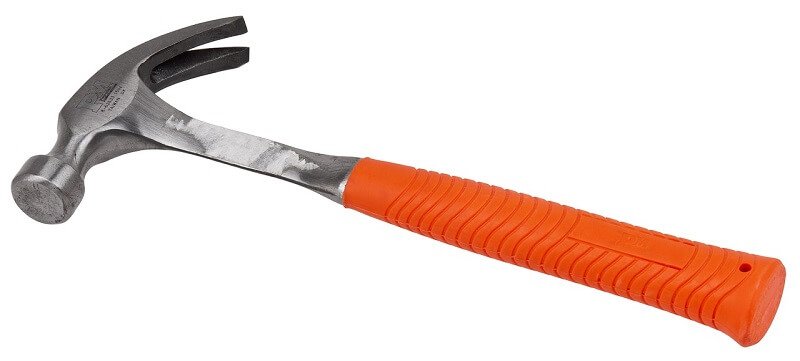
Used to pound fasteners into the wood. A hammer is a simple tool that aids users in manually driving brads, nails and other fasteners. You can also use a fencing nailer if your fence is long and you have to do this quickly.
Other must have tools include gloves, T-braces,and screws. In the later sections of this guide, you’re going to learn how to fix the fence rails, screens, posts, and gates of your wooden fence.
How to Repair Wooden Fence Rails
Instead of replacing a wooden fence because it’s rotting, consider repairing its rails. The rails usually run horizontally from post to post to provide support to the fencing structure. You can use 2×4 metal T-braces or scrap metals to repair a broken track. Here’s how you should proceed with the work.
Step 1: Saturate the damaged areas with a wood preservative before starting the work. The wood preservative helps prevent the rot from spreading to other parts.
Step 2: Ensure that the rail is level, and install 2×4 cleats snugly beneath it. Drive several galvanized nails into the wedge when carrying out the installation.
Step 3: Proceed with caulking the top and sides of the repaired parts to prevent moisture exposure. You can get galvanized steel T-braces from most home improvement centers and hardware stores. The braces make the repair stronger and long-lasting.
In order to use T-braces in the repair, first, level the rail and then drill several holes into the guardrail and post. Use galvanized screws to secure the T-braces onto the railing and caulk the joint. Finish with painting the T-braces with the same color as the fence.
How to Repair Wooden Fence Screens
Repairing wobbling wooden fence screens requires simple carpentry skills and takes only a few hours.
Step 1: To start the process, measure the weak part to get the exact length and width for the repair pieces you’ll need. You can use boards ripped to a proper width with a handsaw or lumber that has the same diameter as the wobbling screens. You can check all the cuts using a carpenter’s square before you make them. In order to get the right angles, you need to use a carpenter’s square.
Step 2: Use a carpenter’s square to measure the cuts before installing them.
Step 3: Remove broken wooden pieces using a hammer and prying them away from the rails. Ensure you pull out the nails.
Step 4: As you set and align the board alongside the rails, use galvanized 8d nails to nail it resolutely into place.
Step 5: Paint the repaired parts with the same color paint or stain in order for the fence to look uniform.
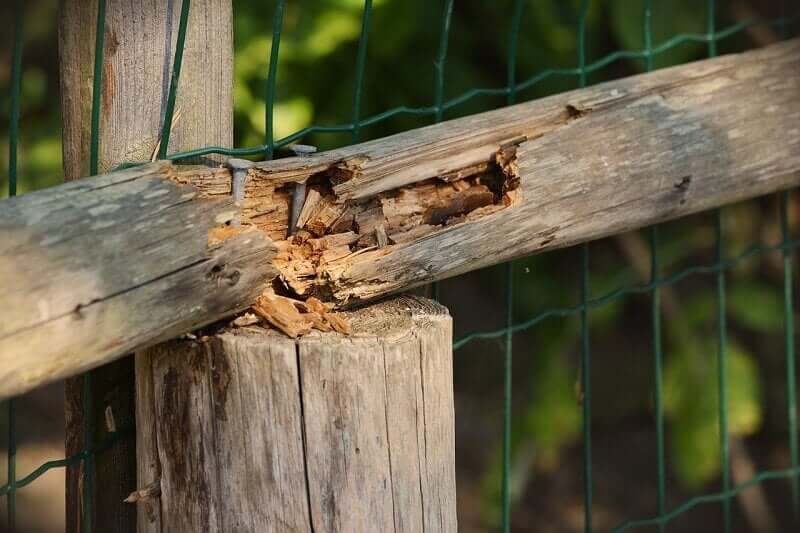
How to Repair Wooden Fence Posts
Before making the repair, determine the cause of the weakened post. For a decayed or broken pillar, you can use a pair of splints to repair it. However, if the breakage is beyond repair, you should replace the post entirely. Fixing the pillar may work if it appears to be loose in its hole.
Steps 1: Find a pair of 2×4 wood pieces that extend 18 inches from the ground and are long enough to reach below the fence’s frost line. Only use pressure-treated clear redwood, cedar or lumber.
Step 2: Cut one end of each 2×4 piece and then insert them in the ground in the opposite sides of the post.
Step 3: Drill two holes through the 2x4s and the existing post and then use galvanized carriage bolts to bolt everything together.
For long-lasting repairs, temporary plumbing braces and pouring concrete around a post’s base that you dug out may work. In this case, prepare and stir the concrete well with a spade to remove any air pockets. You should also mound the concrete on the post’s base to shed excess water.
How to Replace Wooden Fence Posts
To carry out the replacement, you need work gloves, work boots, a post-hole digger, and a narrow shovel. You also need a tamping tool, fence post replacement, spirit level, and tape measure. A drill/power screwdriver, tarp, and screws also come handy in the job. Follow these procedures to replace the rotted or broken posts.
Step 1: Remove the Damaged Post
Start pulling the rails out of the damaged post and setting them aside. Firmly hold the old pillar and wiggle it in all directions for it to loosen. Continue grasping it as you pull it out of its base. Use a shovel to dig out the part that remains in the ground if it happens to break. You may need to dig a hole or remove the base if the post lies on a concrete base.
Step 2: Dig a New Hole for the Fence Post
Also known as a post-hole digger, a narrow shovel can guarantee you the best results in this step. Shove the two-handled shovel into the ground harder as you pry the two handles apart. Lift and remove the shovel from the land with your hands on the stems. Continue digging out the hole to the desired length as you deposit the soil on the surface.
Step 3: Scrape the Hole When Digging
With the end of a tamper tool on the ground, loosen the soil at the bottom and scrape the sides. The tamper tool helps you create a narrow, straight-sided opening that can support the new post. Continue digging and scraping until you reach the appropriate depth for inserting the post. The recommended depth, in this case, is 20 inches.
Step 4: Place the New Post into the Hole
When putting the new wood fence post into the hole, line up the slots needed to accommodate the fencing rails. Use a tape measure for accurate measurements of the height of the rail slots from the nearest standing post. Adjust your new pillar to fit that height. To help settle the pole, replace a portion of the soil inside the hole.
Step 5: Level the Post
Use a spirit level when you need to check whether the new post is in scale with the existing ones. Ask a friend or relative to hold the pole for you as you shovel soil in its hole. If you’re alone, shovel soil in the hole as you periodically check whether the pillar is straight and erect. Add more soil around the post for it to stand firmly on the ground once it appears to be straight.
Step 6: Put the Rails Back and Secure Them
Start installing the lower rails first and then proceed to the higher ones. Use a power screwdriver or drill to attach the tracks to the posts with a screw to prevent them from falling. Finish the work by cleaning and oiling your tools.
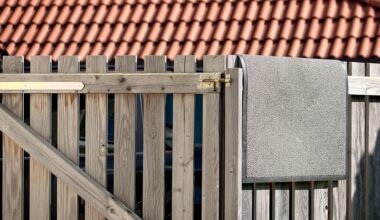
How to Repair Wooden Fence Gates
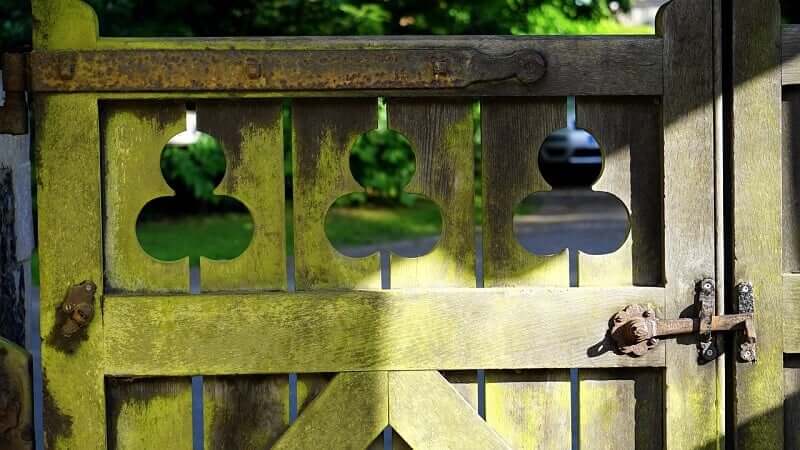
The first thing you need to check on a slightly sagging gate is the hinges. Replace the hooks with heavier ones if they appear to be bending. Remove them and then drill new holes that you’ll use to install longer carriage bolts or screws. Remember only to use galvanized steel hardware in this procedure.
You can straighten up a slightly sagging gate by shimming under its bottom hinge. To do this, you should remove the screws lying on the post side of the hook with the gate wide open. Fit a thin piece of cedar shake into the mortise of the hook. Continue this procedure by driving longer screws through the shim.
At times, gates sag because their weights pull them out of alignment with a fence. Driving a screw eye into the lower corner on the gate side and another into the upper edge of the gate on the hinge side may help. Be sure to run a heavy-duty turnbuckle on the screw eyes and tighten it until the frame of the gate is square. You may consider replacing the gate by getting a new one if it’s beyond repair.
Final thoughts
Repairing your wooden fence is an investment in your property’s aesthetic appeal, privacy, and security. As a property owner, continuous check on your wooden fence will enable you to notice the problems beforehand. Whether you need repairs or maintenance on your fence, ensure you use the right tools and procedures. In the long run, repairing your fence brings back the beautiful flair that your home yard or business deserves.


Putting a wood preservative at the fence repair site is a great idea. This step is often overlooked in an effort to just get it done and over with. Your article is a great overview.
There is quite a bit of thought that goes into the type of fence you have for your property. Especially when it comes to privacy wood fences . They can last many many years if they are kept up with and repaired if need be. We recently had to replace a privacy wood fence to our old house before it was rented out because the fence was so old and had been there for over ten years. It had been through many climate changes and needed to be leveled and put together properly so we decided to replace the whole thing.
I’m trying to brace a wooden fence. Two panels keep falling down so I was going to put 2×4s in with cement 8 feet apart and screw in wooden slats from one pole to the next, top and bottom. I’m hoping that it will brace the fence since the poles and slats will be placed in front of the existing panels. This is my first time trying this so if anyone knows an easier, faster and cheaper way to brace a fence, please let me know. So far the cost is about 70.00. As you have probably already guessed, I am a single female but I have done and learned how to do most repairs to my home successfully. The panels are a little heavy so I decided to use cement as it has worked great when I put up the T’s for a clothes line.